
What do you need to teach yoga online?
With everything that’s going on in the world with COVID-19 at the minute, there are a lot of yoga teachers wondering how to teach yoga online while we’re being advised to socially isolate.
I’ve been teaching yoga online for 5 years now and technology has changed a LOT in that time. It’s now cheaper and easier than ever to film your classes for others to access at home.
Before we get into what I recommend you start filming with, I want you to know something. My first videos were really BAD. Really, really BAD. You can even go back and check them out on my Youtube channel if you like.
I leave them there to remind myself how far I’ve come. Even though they were terrible they are what got me started and I learnt so much just through trial and error. I guess I tell you this to let you know that we all have to start somewhere. Don’t get too caught up in trying to make it perfect straight up. Learn as you go.
With that being said I want to share what you will need to get started teaching yoga online today and give you a couple of options depending on how much money you want to spend. Hopefully this gives you some ideas for where to start because I know it can feel all too overwhelming at first.
If you enjoy this post (and want more like it) or have any questions, leave me a comment below.

What you need to teach yoga online?
Budget option
If you want to get started while spending little to no money, this is the option for you. This is what I’d go with if you are only planning on sharing your classes online while you can’t be in the studio.
What you’ll need –
Phone
Most smart phones these days have a great camera that will work well enough for filming your classes.
You may not even need a computer to publish your video. Many smart phones will let you publish straight to Youtube, Facebook, Instagram or Zoom.
Tripod
You can purchase phone tripods reasonably cheaply these days and for $20-ish dollars you’ll get one that does the job. Or if you don’t want to spend any money, a stack of books on a chair with something behind the phone to hold it up will also work.
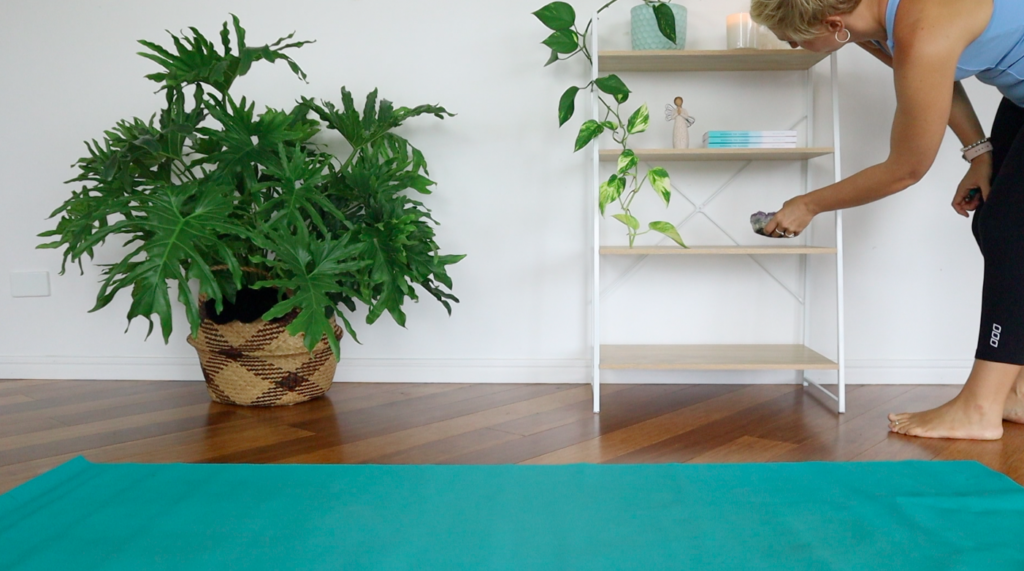
Space to film
When choosing a space to film find somewhere that is clutter free and well lit. You want to be facing the light and not have too much light behind you or you’ll look too dark in the video.
How to know if the budget option is for you?
Positives
Little to no cost to set up.
Little to no tech skills needed.
No editing time or skills.
Get started today.
Negatives
No editing means you have to get it right first go. Embrace your mistakes as you would in a face to face class.
Your videos may feel less polished / professional.
Intermediate option
This option is what I’d choose if you’ve been thinking about teaching online but you’re not entirely sure it’s for you. These options will require that you spend a little bit of money (and extra time) to improve the quality of your content without spending loads of money that you might regret later.
Phones x 2
This option requires two phones. One to record the audio with an external microphone (we’ll talk about that a bit later) and one to record the video. This doesn’t mean you need to purchase another phone however, just borrow the extra phone off someone to test if this option works for you.
Using an external microphone brings your video quality up immensely. Your audience will forgive bad lighting, but if they can’t hear you over all the background noise they’re going to turn the video off real fast. With this set-up you’ll connect a microphone to a phone that you’ll put in your pocket (or down your pants) and clip the microphone to the top of your shirt. As the microphone is near your face it will clearly pick up your instructions while the other phone films your actions.
Editing software
If you record your audio and video separately you’re going to have to sync them together using an editing tool. These free options will allow you to do that. The two most commonly used free software is iMovie (if you have a Mac) or Movie Maker (if you have a PC.)
Tripod
As in the budget option, you can pick these up fairly cheaply. The only reason to go for a more expensive tripod to use with an phone is if you are wanting to film outside where the ground may be less stable and you’ll need your tripod to be a bit more dependable.
How to know if the intermediate option is for you?
Positives
Less than $100 to set up. (if you already have a computer)
Only basic editing skills needed.
Improved sound quality produces a more professional video.
Negatives
Requires a computer and software to edit.
Editing takes time.
Syncing audio and video can be painful and time consuming at times.
Advanced option
This option is for those of you who know that you’re going to be filming your classes long term. Of course you can still spend WAY more money than I’m advising but these are the basics I’d start with if you’re wanting to get yourself a good set up.
Camera
I did a lot of research before I bought my current camera and I’m loving my Canon M50. It’s small and compact and it takes amazing video. It retails for about $800 with the kit lens.
Tripod
If you’ve spent money on a good camera I’d recommend buying a reasonably sturdy tripod. You don’t have to spend a massive amount of money but just don’t go with the cheapest option. I like the Manfrotto brand tripods.
External microphone set
This microphone set was my first big purchase and it has honestly been life changing. The audio is excellent and there is no need to sync audio and video as the receiver plugs straight into your camera. (If you haven’t gone with the Canon M50, just check you’ve got an external microphone plug).
Editing Software
Editing your videos will take your classes to the next level. This will allow you to add title slides and text, add an intro and outro, cut and edit out mistakes, colour grade, adjust the volume, add music and more.
You can either stick with the free software mentioned above or upgrade to something like Adobe Premier or Final Cut Pro. Honestly though, the free versions do all that I’ve ever needed to do to create both yoga videos and vlogs. One day I may upgrade, but at this point the free options work great for me.
Lights
Let me start by saying that lights are definitely an optional extra, though if you’re filming regularly they can be handy to have. If you want to have the option to film at night or if the day you plan to film is overcast and rainy, lights are a great addition to your kit. You can get soft box lights for about $80 off eBay. Just check they will fit into the power outlet of your country.
How to know if the intermediate option is for you?
Positives
Produces highly professional looking videos. Check out some of my latest youtube videos for samples from my current filming set up.
Produces excellent looking audio and video quality.
You don’t have to sync audio and video with this set up.
Negatives
Costs approximately $2000 to set up with all the options mentioned above.
Editing often takes twice as long (often longer) than the actual filming of the class.
I hope you found this post helpful to get you started setting up to teach yoga online. If you have any questions about any of the equipment or want more information about setting up online classes let me know in the comments below.